Foam Embroidery - Creating Dimension with 3D Foam

Click Here To Buy Puffy 3D Foam
Note: Puffy Foam should only be incorporated with designs that have been digitized specifically for the foam process.
Step 1
With “foam” designs you need to run the regular embroidered elements first.
Step 2

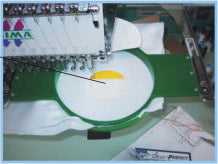
Once all regular embroidery colors are completed your color information sheet will give you a suggested thread color and say the word “foam” after it. When reaching this color change the design should move to the top of the design and you should stop your machine.
Step 3

At this point you will lay the foam down within the areas to be embroidered. (Always try to use the same color thread and foam whenever possible).
Step 4

The first stitches to be placed down are “tack-down” stitches to secure the foam to the fabric.
Step 5
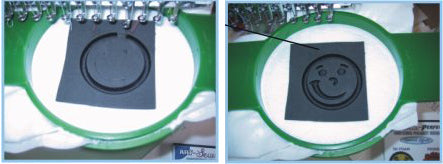
Then the design will proceed to finish all the areas to be done in foam.
Step 6

Now you're ready to pull the foam off. It should tear away easily with designs that have been digitized properly.
Step 7

Smile! You now know how to do “foam”